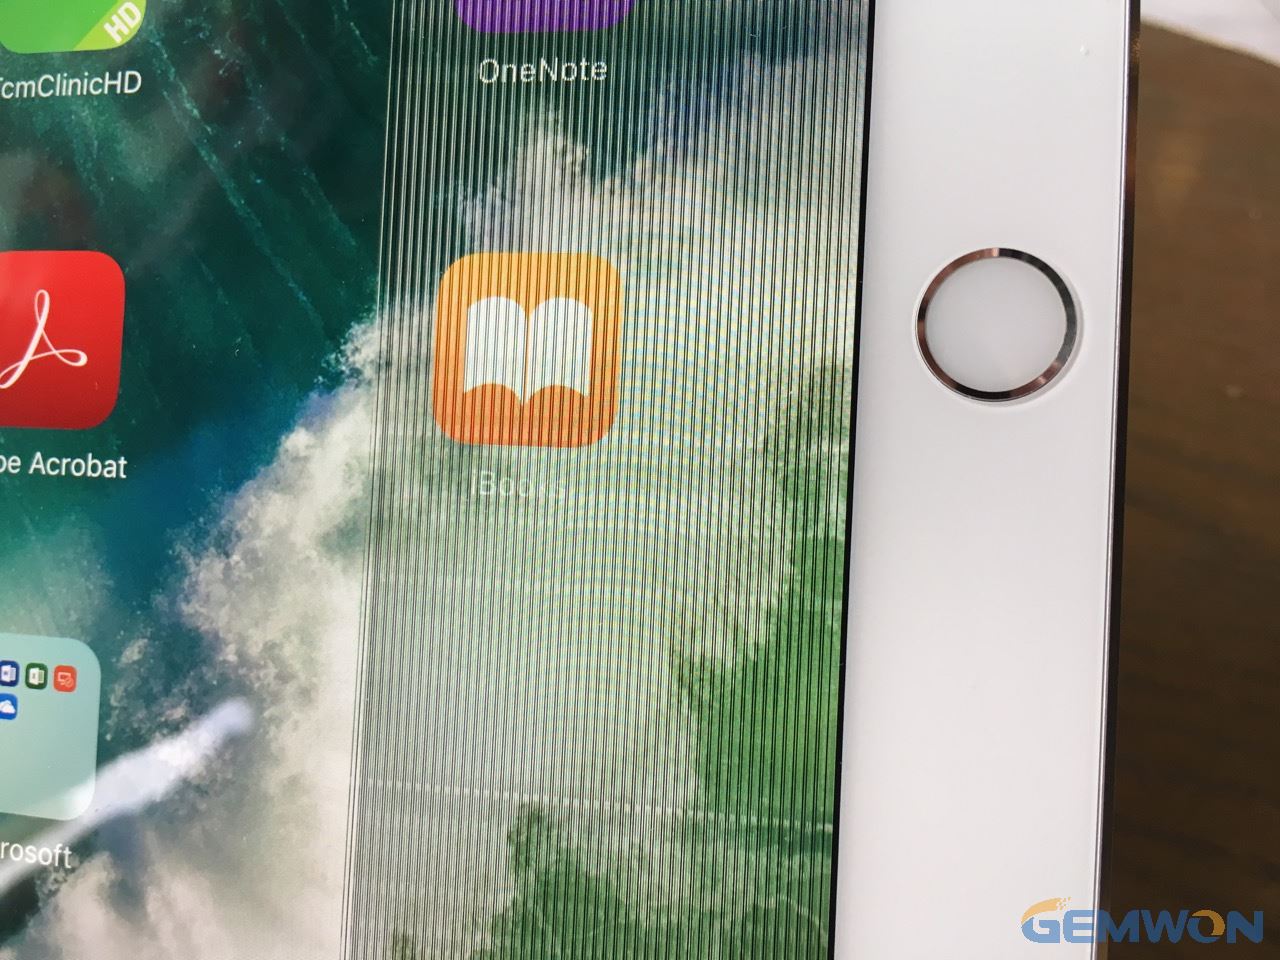
MY husband’s iPad has flickering lines across the screen.I bought it in December 2015 and he rarely uses it. On a white screen they' re black and on black they're white. I have reset it. Rebooted it and turned the brightness up and auto off.
You are at the right place now. This problem can be caused by the malfunction of a hardware component, unexpected dropping, modifications to the operating system, or errors of the iOS. You can now solve the issue with the three parts below.

1. Restart your iPad or force a reboot
If this does not work, please restore iPad to factory settings.
How to Hard Restart iPad:
Press the Home button and the Sleep / Wake button for at least ten seconds until you see the Apple logo appear.
After the iPad restarts, you can check again if iPad screen flickering vertical lines.
2. Turn off Auto-Brightness on iPad
iPad can adjust the brightness on its screen according to the surrounding light. This feature is called as Auto-Brightness and when this is enabled your iPad screen may appear to be flickering when the background light keeps changing but that might not be the case.
You can disable this feature by following the steps below:
Step 1: From the main screen of your iPad, navigate to "Settings".
Step 2: Tap on "Accessibility".
Step 3: Select "Display Accommodations".
Step 4: You can find Auto-Brightness option here, for which you just have to move the slider and disable it.
3
. Why are vertical lines appearing on iPad screen
iPad screen has water damaged or dropped may cause iPad display vertical lines.
You can view the iPad external glass, LCD screen, etc. If the external glass breaks; the internal LCD screen may also be damaged.
Generally,if there are colored lines through iPad screen, it is a malfunction on the hardware. There is also a small probability that the problem may be caused by the application.

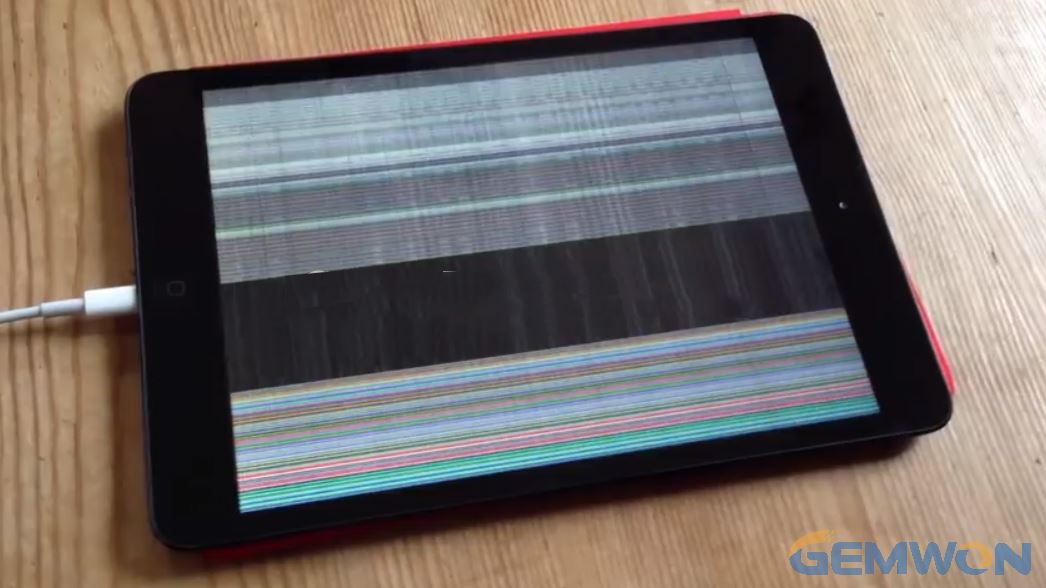
For example, vertical lines showing only with iPad camera screen. This is most likely caused by a program. It is recommended that you uninstall the third-party camera program or clear the camera cache.
Check the related hardware cause the iPad screen flickering on and off:
2.1 Check the connection between flexible cable and logic board
First,the screen cable and logic board connections.
If you find dust then clean it with a brush or a little alcohol immediately. If any connection is damaged or the flexible band is bent 90 degrees, it needs to be replaced.
If you check all the options, the next step is to connect the cable to the motherboard and make sure it is connected correctly. Most importantly, do not bend the cable during testing or installation.
2.2 Remove static charge
Poor connection may also be the cause by electrostatic charging. In many cases, when there is a blue line on your iPad screen, a bad connection will occur. It is necessary to use anti-static repair tools when disassembling.
2.3 Check if the screen IC is damaged
Damage to the IC port may also be the cause of the red and blue lines appear on iPad screen.
IC damage can be found by examining the top and left edges of the cable. If the IC is damaged, it must be replaced.
4
. How to replace the iPad LCD screen
You must check the root cause of the iPad screen flickering on and off.
The iPad screen may be damaged or not connected properly.
After installing the screen, vertical lines on iPad screen, the fault is with the poor connection made by the ribbon cable. Currently, you need to reinstall the screen.
If dropped iPad screen has lines, you need to replace it.
iPad mini2 as an example for replace the iPad LCD screen:
Preparation tools:
hot guns, crowbar, suction cups, screwdrivers.
1.Heat the screen border with a heat gun
The iPad's screen and body are glued through the frame. We first use a heat gun(which can also use a household hair dryer) to heat the side border of the screen to reduce the stickiness of the border glue.
2.The suction cup lifts the screen border
Then use the suction cup tool to pick up a gap in the screen until the gap is large enough to fit into a crowbar. Next, use the crowbar to expand the gap to prepare for the final opening of the screen.
3.Use crowbars to widen the gap between the screen
Use crowbars to widen the gap between the screen and ensure that the previous gap is not closed until the screen is completely degummed and the screen frame is completely degummed.
Next, we can pick up the screen from the top of the body, and be careful that the cable of bottom and motherboard connections are not broken.


4. Remove the 4 screws of the LCD display internal screen

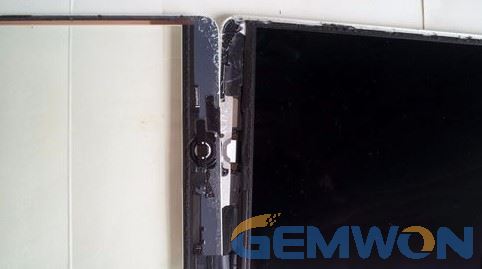
5.Remove the 7 screws on the Isolation aluminum plate.
6.Remove the isolation aluminum plate and remove the 3 screws on the crimping boards.

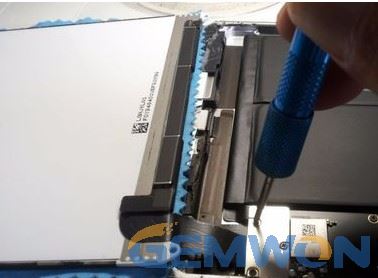
7.After seeing the cable, first disconnect the battery cable interface, then remove the internal screen and the external screen socket.
When installing, the opposite is true. The external screen should be installed first, then the internal screen socket should be installed, and finally should be the battery port.
8.Remove the old glue on the perimeter of the outer screen, and attach a new tape around the frame.
Leave no gaps to prevent dust from entering in the future.
Carefully wipe the touch screen dust, fingerprints, etc. with a cloth.
Install the screen back into the iPad, then install the internal screen and insert the battery.
Install the crimping plate, isolate the aluminum plate, and fix the screws on the inside screen.
Turn on and test if there are still vertical lines after iPad screen replacement. Then just reinstall the new screen in the order of disassembly and re-glue the screen frame, thus completing the iPad 2 screen replacement.
The Bottom Line:
The reasons and the solution to fix iPad lines across screen have been found. Here is more troubleshooting about iPad. In addition to the iPad screen, the battery more iPad repair parts you can find at GEMWON.
Related Articles:
How to Repair Broken iPad Screen
How to Fix an iPad Touch Screen not Working
YouTube: iPad Mini 2 Screen Replacement