As we all know, the design of the iPhone has always been praised, whether it is the UI and the internal parts design is delicate. However, if you need to replace the iPhone XR battery, or replace the iPhone XR camera, etc., this requires that if you want to repair iPhone XR, you need a more complete disassembly tutorial.

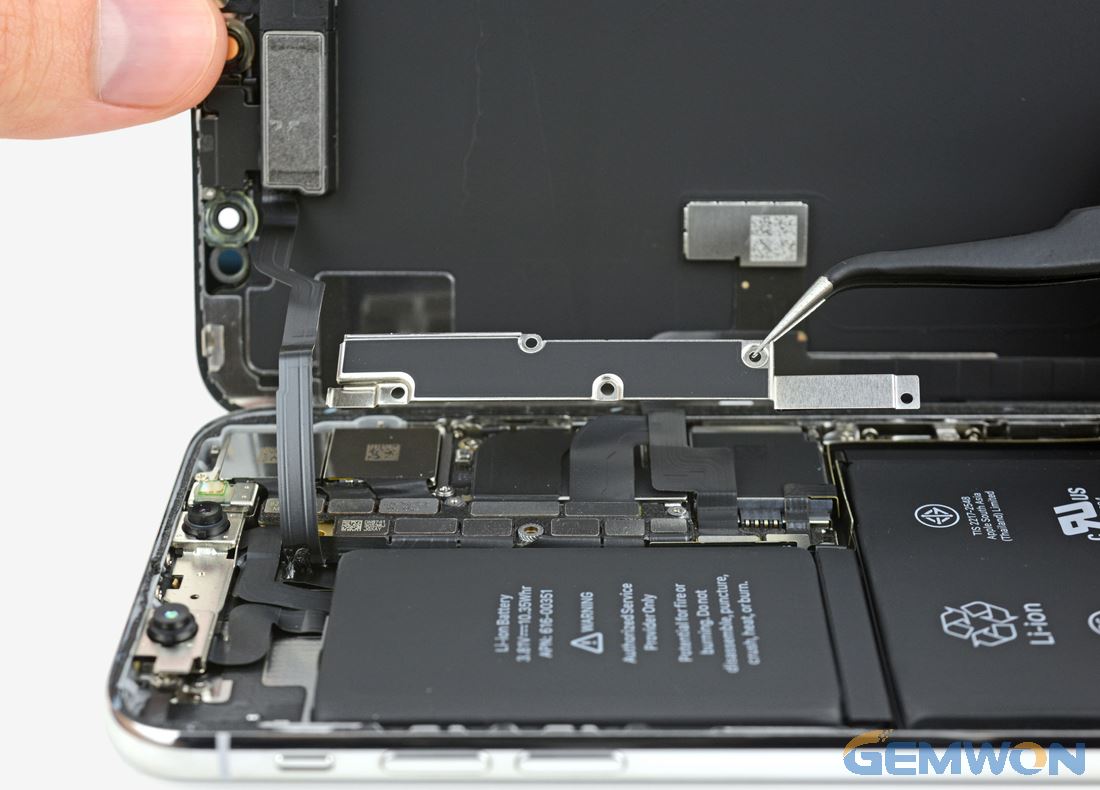
Part1: Prepare to Disassembly for iPhone XR
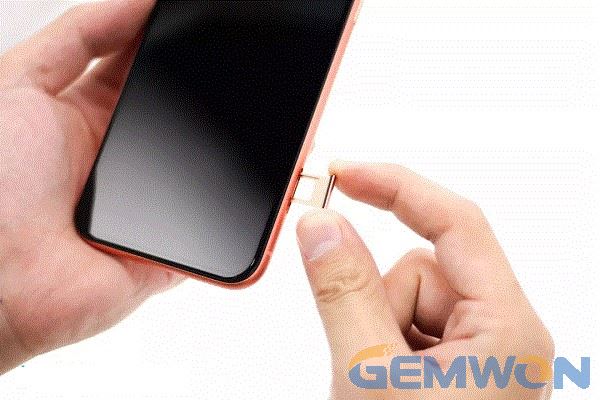
1.Turn off the iPhone first, take out SIM card slot use a SIM tool.

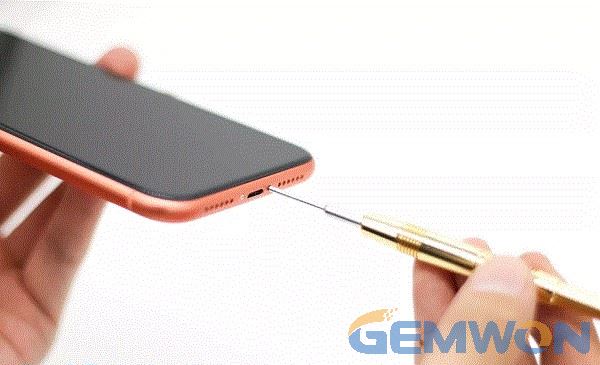
2. Use a screwdriver to remove the 2 pentagonal screws on the bottom of the iPhone. The screws should be placed a side after being removed prevent of loss.

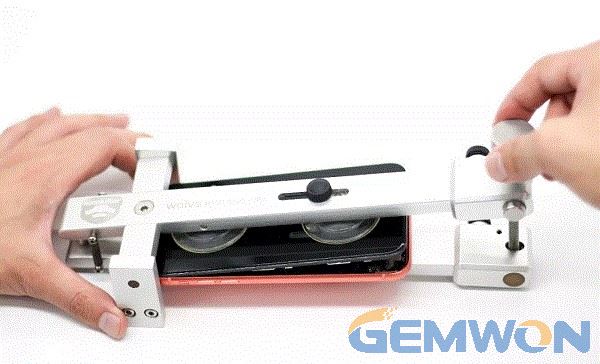
3. Slowly remove iPhone XR screens using the phone screen split tool.

4. The screen and the top speaker are connected to the motherboard via the FPCB.

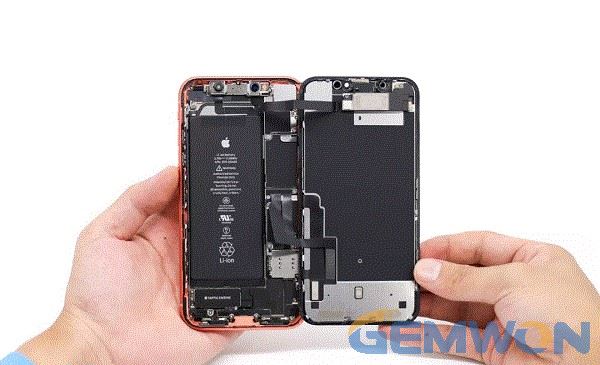
5. Then remove the iPhone XR battery cable cover screws, a total of 3 Y-shaped screws; the cable fixing baffle is also removed.

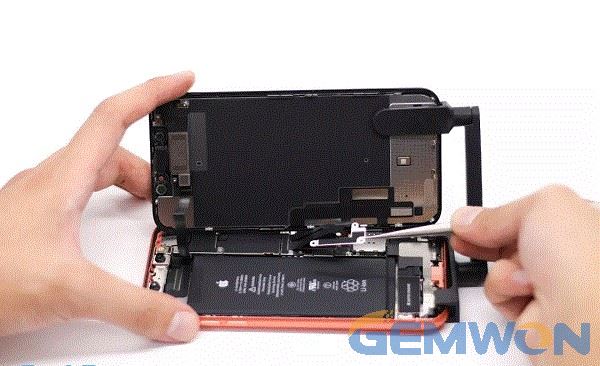
6. Disconnect the battery cable.

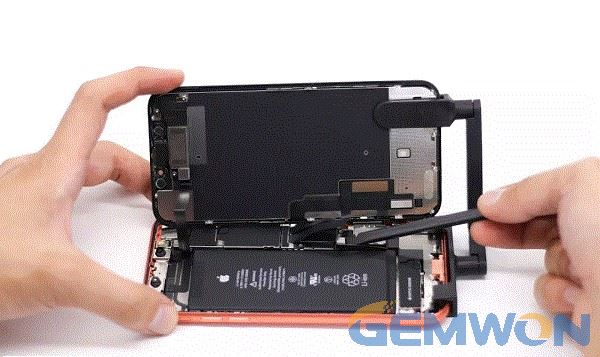
7.Remove the iPhone XR screen fixing screw,remove the bezel, disconnect the cable, and remove the phone display complete.
Part2: Disassembling the iPhone XR Speaker
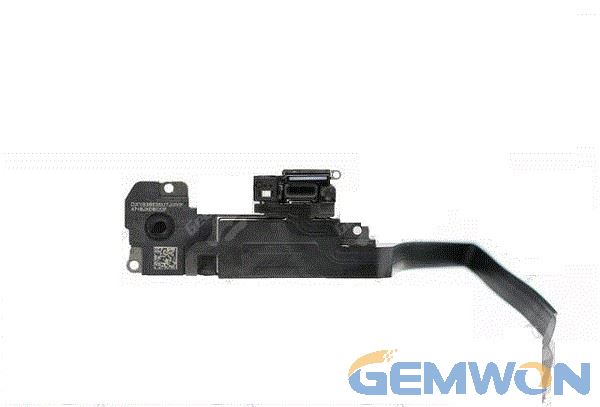
1. First remove the 3 fixing screws at the top of the screen and remove the top speaker and other parts.
2. The top speaker exports the sound through the conduit while forming a dual channel with the bottom speaker. It also integrates a microphone, a floodlight sensor, an ambient light sensor, and a distance sensor.

3. The iPhone XR's screen uses LCD material, 6.1-inch resolution 1792*828, 326 ppi (iPhone 8 equivalent pixel density). The thickness of the screen module is 2.46 mm, the 3D Touch module is removed, and the lock screen touch screen is illuminated.
4. The display connection cable extends from the screen, touches the connection cable, extends from the left side, and touches the transfer of the cable to reduce the space occupied at the bottom of the screen. This is also the reason why the iPhone XR LCD has a full width of four sides.
Part3: How to Disassemble the iPhone XR Motherboard
1. Disconnect the SIM card slot connection cable, remove the 3 fixing screws, and remove the SIM card slot.
2. The iPhone XR is a dual-card design, the card slot is thicker, and the design of the card slot fixed on the motherboard is bound to affect the thickness of the phone.
3. Then disconnect the connection cable of motherboard.

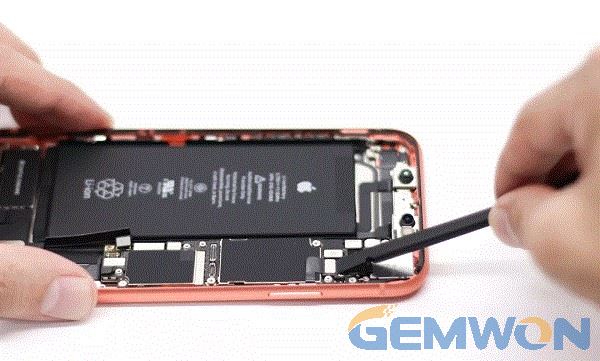
4. Use a screwdriver to remove the 5 motherboard fixing screws and take out the motherboard out from the bottom.
5. iPhone XR motherboard uses a single motherboard design, the original surface is covered with a shield, the surface is attached with a metal heat sink sticker. iPhone X began to use the design of the double-layer motherboard overlay, the A processor is sandwiched in the middle of the motherboard, resulting in poor heat dissipation. This single-board design will bring good heat dissipation performance.
Part4: iPhone XR Replace Camera, Bottom Speaker and Other Accessories
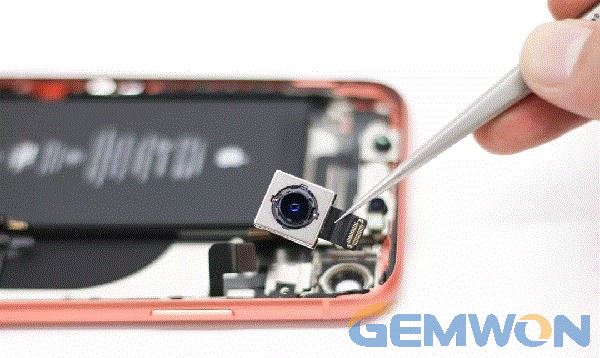
1. Remove the 2 fixing screws of the camera and remove the fixed baffle.
2. Remove the rear camera. The iPhone XR rear camera uses a single camera, the iPhone XS series with the same main camera, 12 million pixels, f / 1.8 aperture, optical image stabilization,photosensitive element single pixel size upgrade to 1.4 microns.

3. Dismantle the bottom original fixing screw, remove the fixing baffle; disconnect the connecting cable and remove the taptic engine.
4. Remove the speaker. The iPhone XR bottom speaker and top speaker are composed in stereo, and the sound quality is significantly improved compared to the iPhone X.
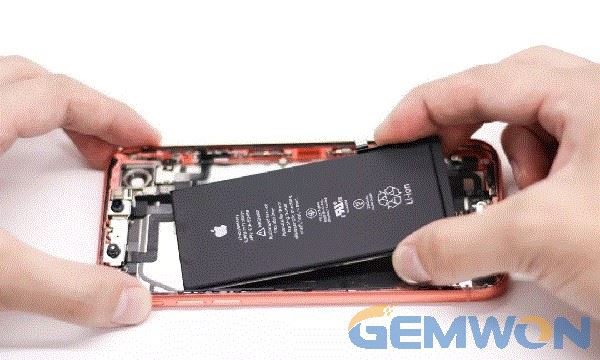
5. Pull out the pull-tab that holds the battery and dismantle the battery. The iPhone XR battery has a rated capacity of 2941 mAh and a theoretical battery life of 30 minutes longer than the iPhone XS Max.

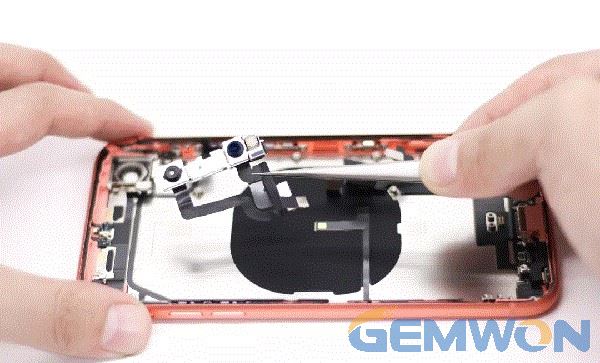
6. Remove the Depth-Sensing module from the iPhone XR. The iPhone XR uses the first generation of the original Depth-Sensing module. From left to right, the infrared camera, front camera,and dot matrix projector are used for the face ID, depth of field selfie, and other functions.

Part5: Technology of iPhone XR Motherboard
1. iPhone XR motherboard uses a single-layer motherboard design.

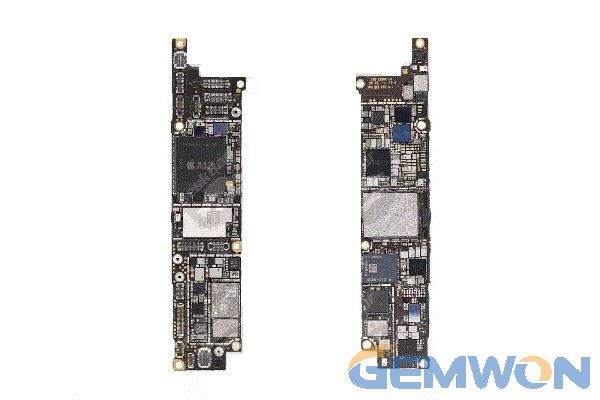
2. The front of the motherboard integrates A12 Bionic processor, Wi-Fi chip, USB control chip, NFC, RF back-end chip and three audio driver chips. 7 nm process, 6.9 billion transistors, 3GB of running memory.

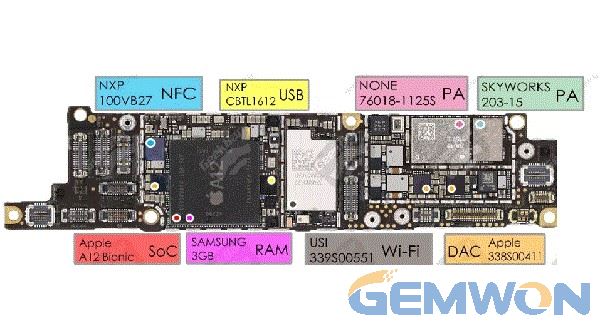
3. The back side of the motherboard integrates flash memory chips, audio decoding chips, power management chips,baseband & RF transceivers, and charging chips. Baseband uses Intel solution, iPhone XS series with the same PMB9955, castrated 4*4 MIMO.
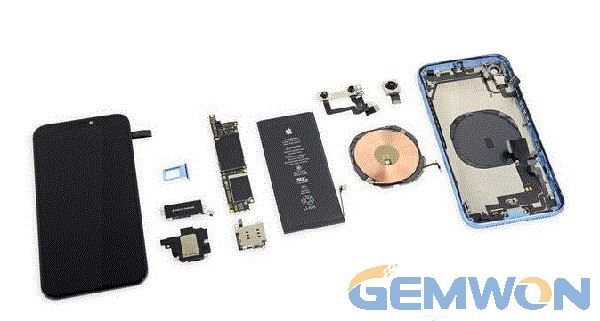
4. All parts of this iPhone XR disassembly.

Summary of the iPhone XR Teardown:
The repair process is cumbersome but not difficult. Removing the rear panel requires some careful swaying, screw removal and heating, after which the removal of the screws and lifting parts becomes slow.
By Disassembly the iPhone parts design of iPhone XR, we can find:
1. iPhone XR is thicker than iPhone XS with OLED screen;
2. iPhone XR has only a rear camera,but the camera's hardware spec is excellent, the larger unit pixel size,optical anti-shake blessing, making the iPhone XR camera level is still the high level;
3. iPhone XR follows most of the core components of iPhone XS, but the price is lower, the cost is lower than iPhone XS;
4. The iPhone XR is difficult to disassemble and has a perfect hardware configuration, which means that if the hardware is damaged, the iPhone XR repair prices will be high. Therefore, it is necessary to do a good protection for iPhone, such as buying a protected and personalized iPhone case from GEMWON, GEMWON is professional phone parts wholesale online store.
Related Articles:
Compare Differences between OLED and LCD in iPhone
How to Fix iPhone 7 Plus Camera not Working
How to Fix an iPhone X Speaker not Clear